
The Posts section allows you to create, edit, organize, and manage your blog content.
How to Access
Navigate to:
Posts → All Posts
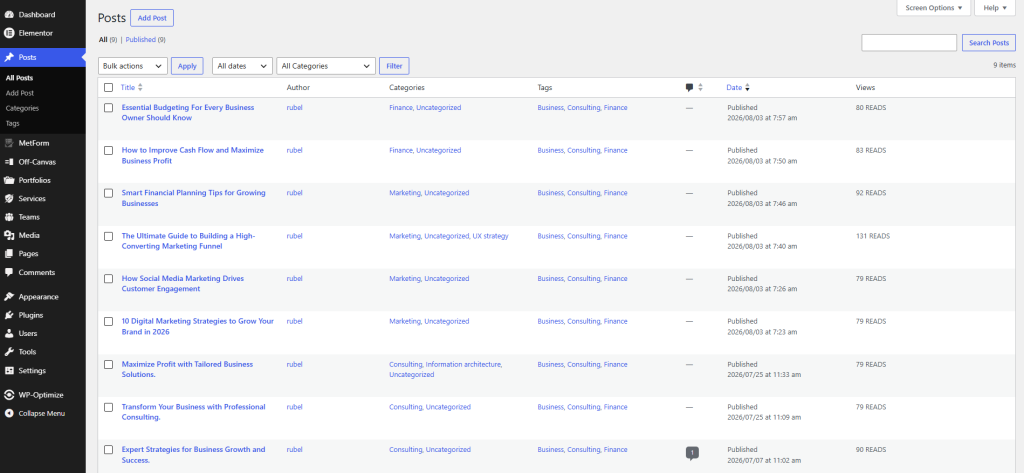
Create a New Post
- Go to Posts → Add Post.
- Enter a Post Title.
- Add your post content using the WordPress editor or Elementor (if enabled).
- Set a Featured Image.
- Assign one or more Categories.
- Add relevant Tags (optional).
- Click Publish to make the post live.
Edit an Existing Post
- Go to Posts → All Posts.
- Hover over the post you want to edit.
- Click Edit (or Edit with Elementor, if available).
- Make your changes.
- Click Update to save.
Available Actions
From the All Posts page, you can:
- Edit – Modify the post content and settings.
- Quick Edit – Quickly update the title, slug, categories, tags, date, or status.
- Trash – Move a post to the Trash.
- View – Preview the published post.
- Duplicate – Create a copy of an existing post (if the feature is enabled).
Organize Posts
Use Categories and Tags to organize your blog content.
- Categories group related posts into broader topics.
- Tags describe specific topics or keywords within a post.
You can manage them from:
- Posts → Categories
- Posts → Tags
Filter and Search Posts
The All Posts screen allows you to:
- Filter posts by Date.
- Filter posts by Category.
- Search for posts using the search box.
- Perform Bulk Actions (Edit or Move to Trash) on multiple posts at once.
Note: For the best user experience, always assign a featured image, category, and relevant tags before publishing a post. This helps improve your website’s organization, appearance, and SEO.